Managing Projects
Every scan belongs to a project. The dashboard lists all projects on this device.
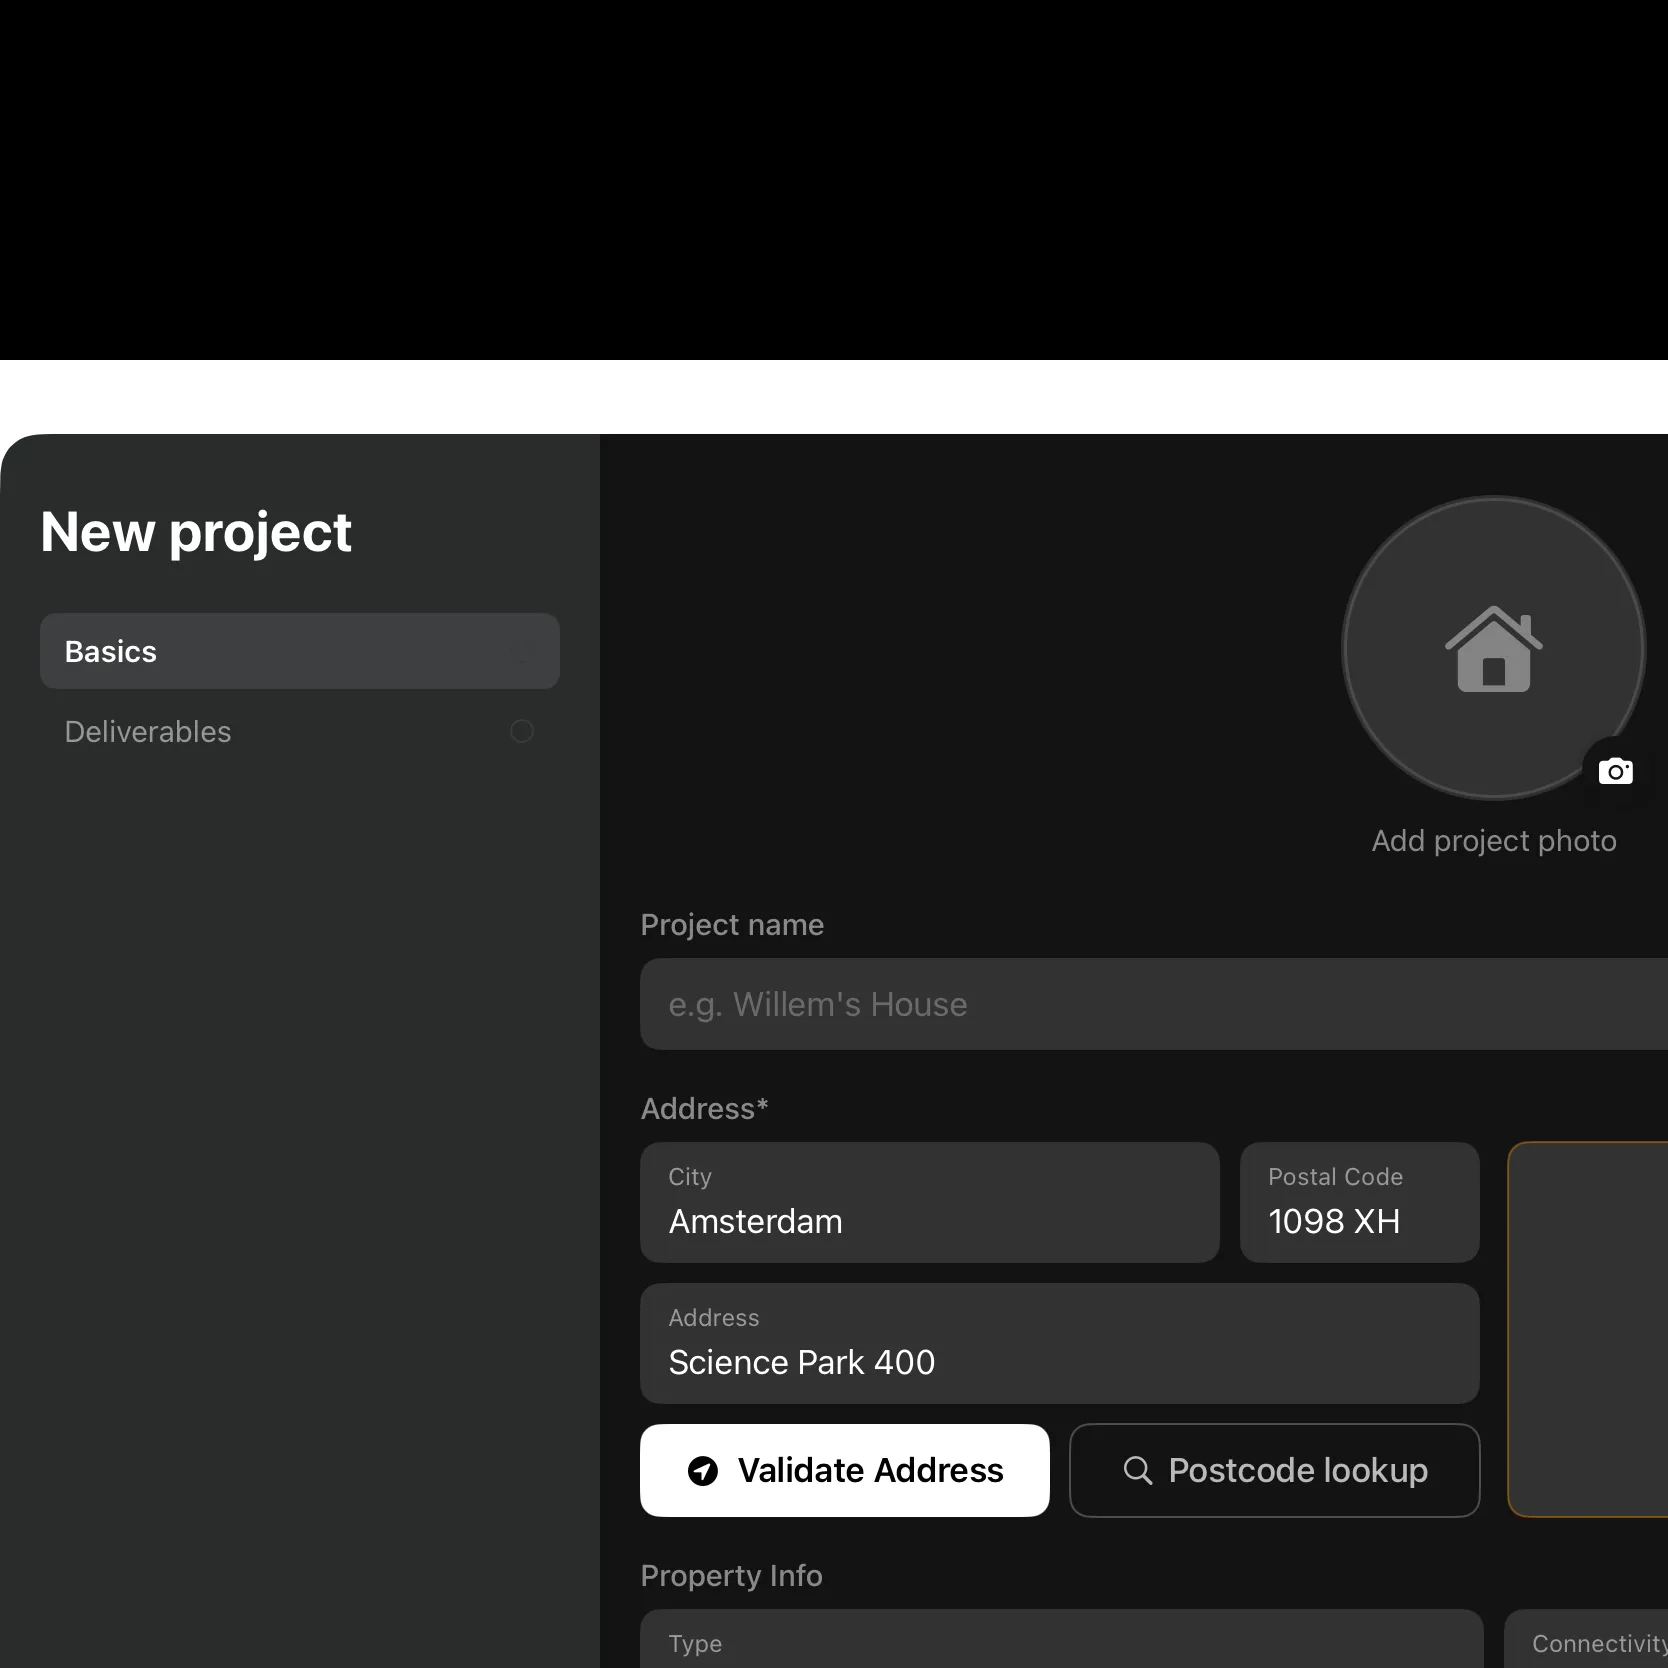
Create a project
Section titled “Create a project”-
From the dashboard, tap the create-project button.
-
Enter a project name (for example, “Building A”).
-
Fill in the address, or let the app suggest one from your location.
-
Save. The project opens.
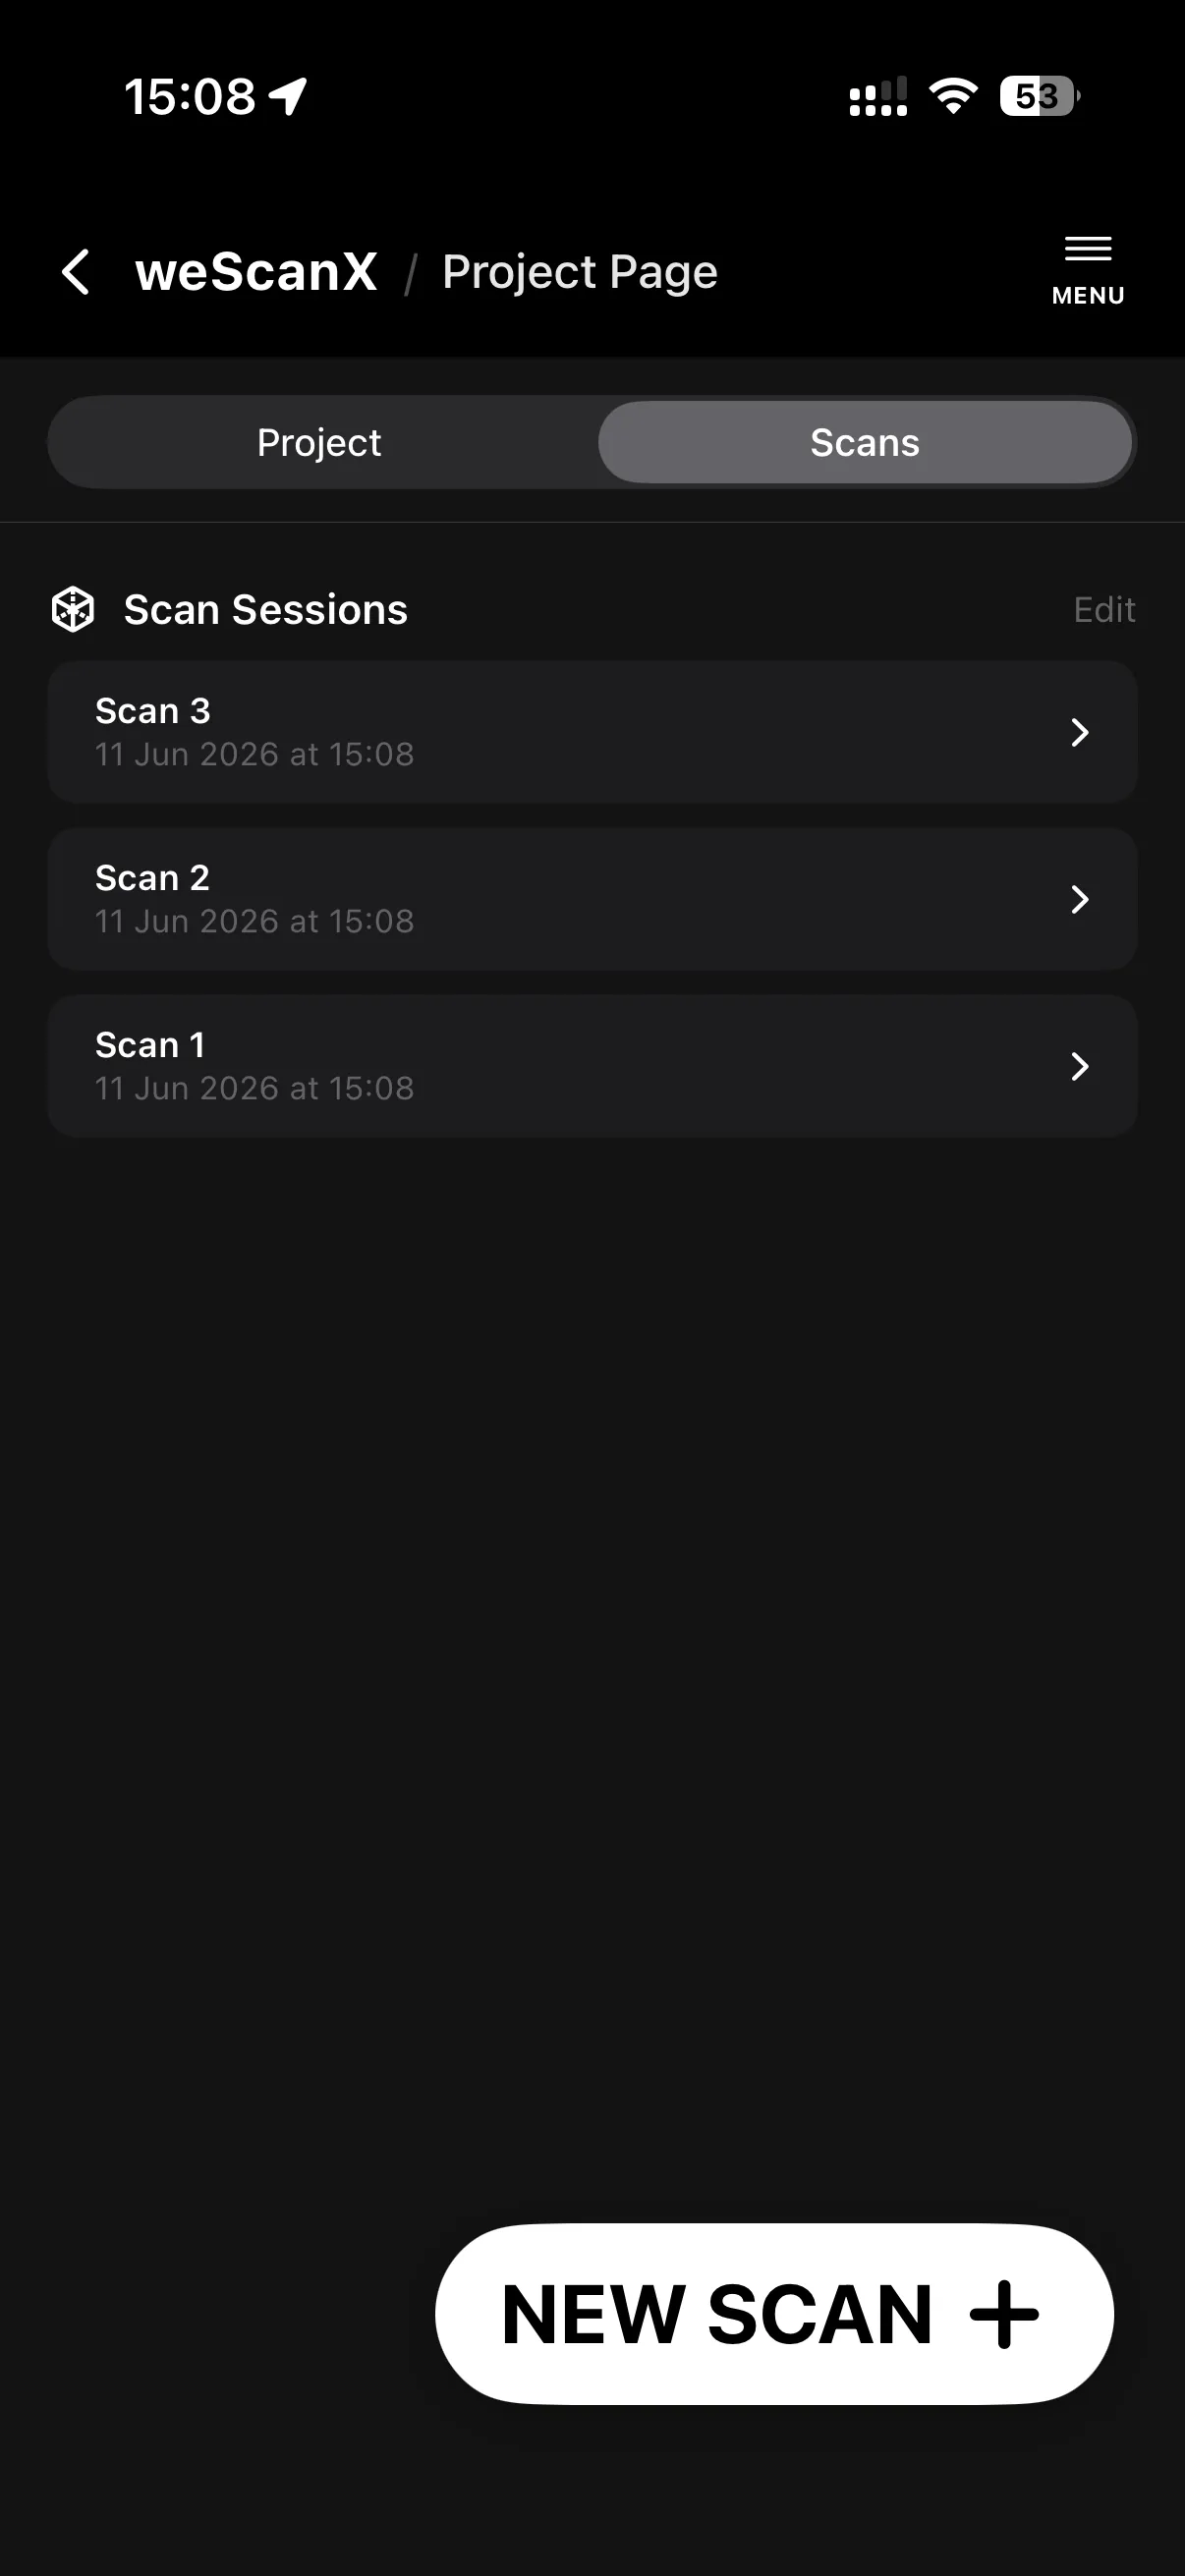
The project page
Section titled “The project page”The project page shows the project info with a Scans / Floors switch once floors exist. Scan sessions are listed under Scan Sessions.
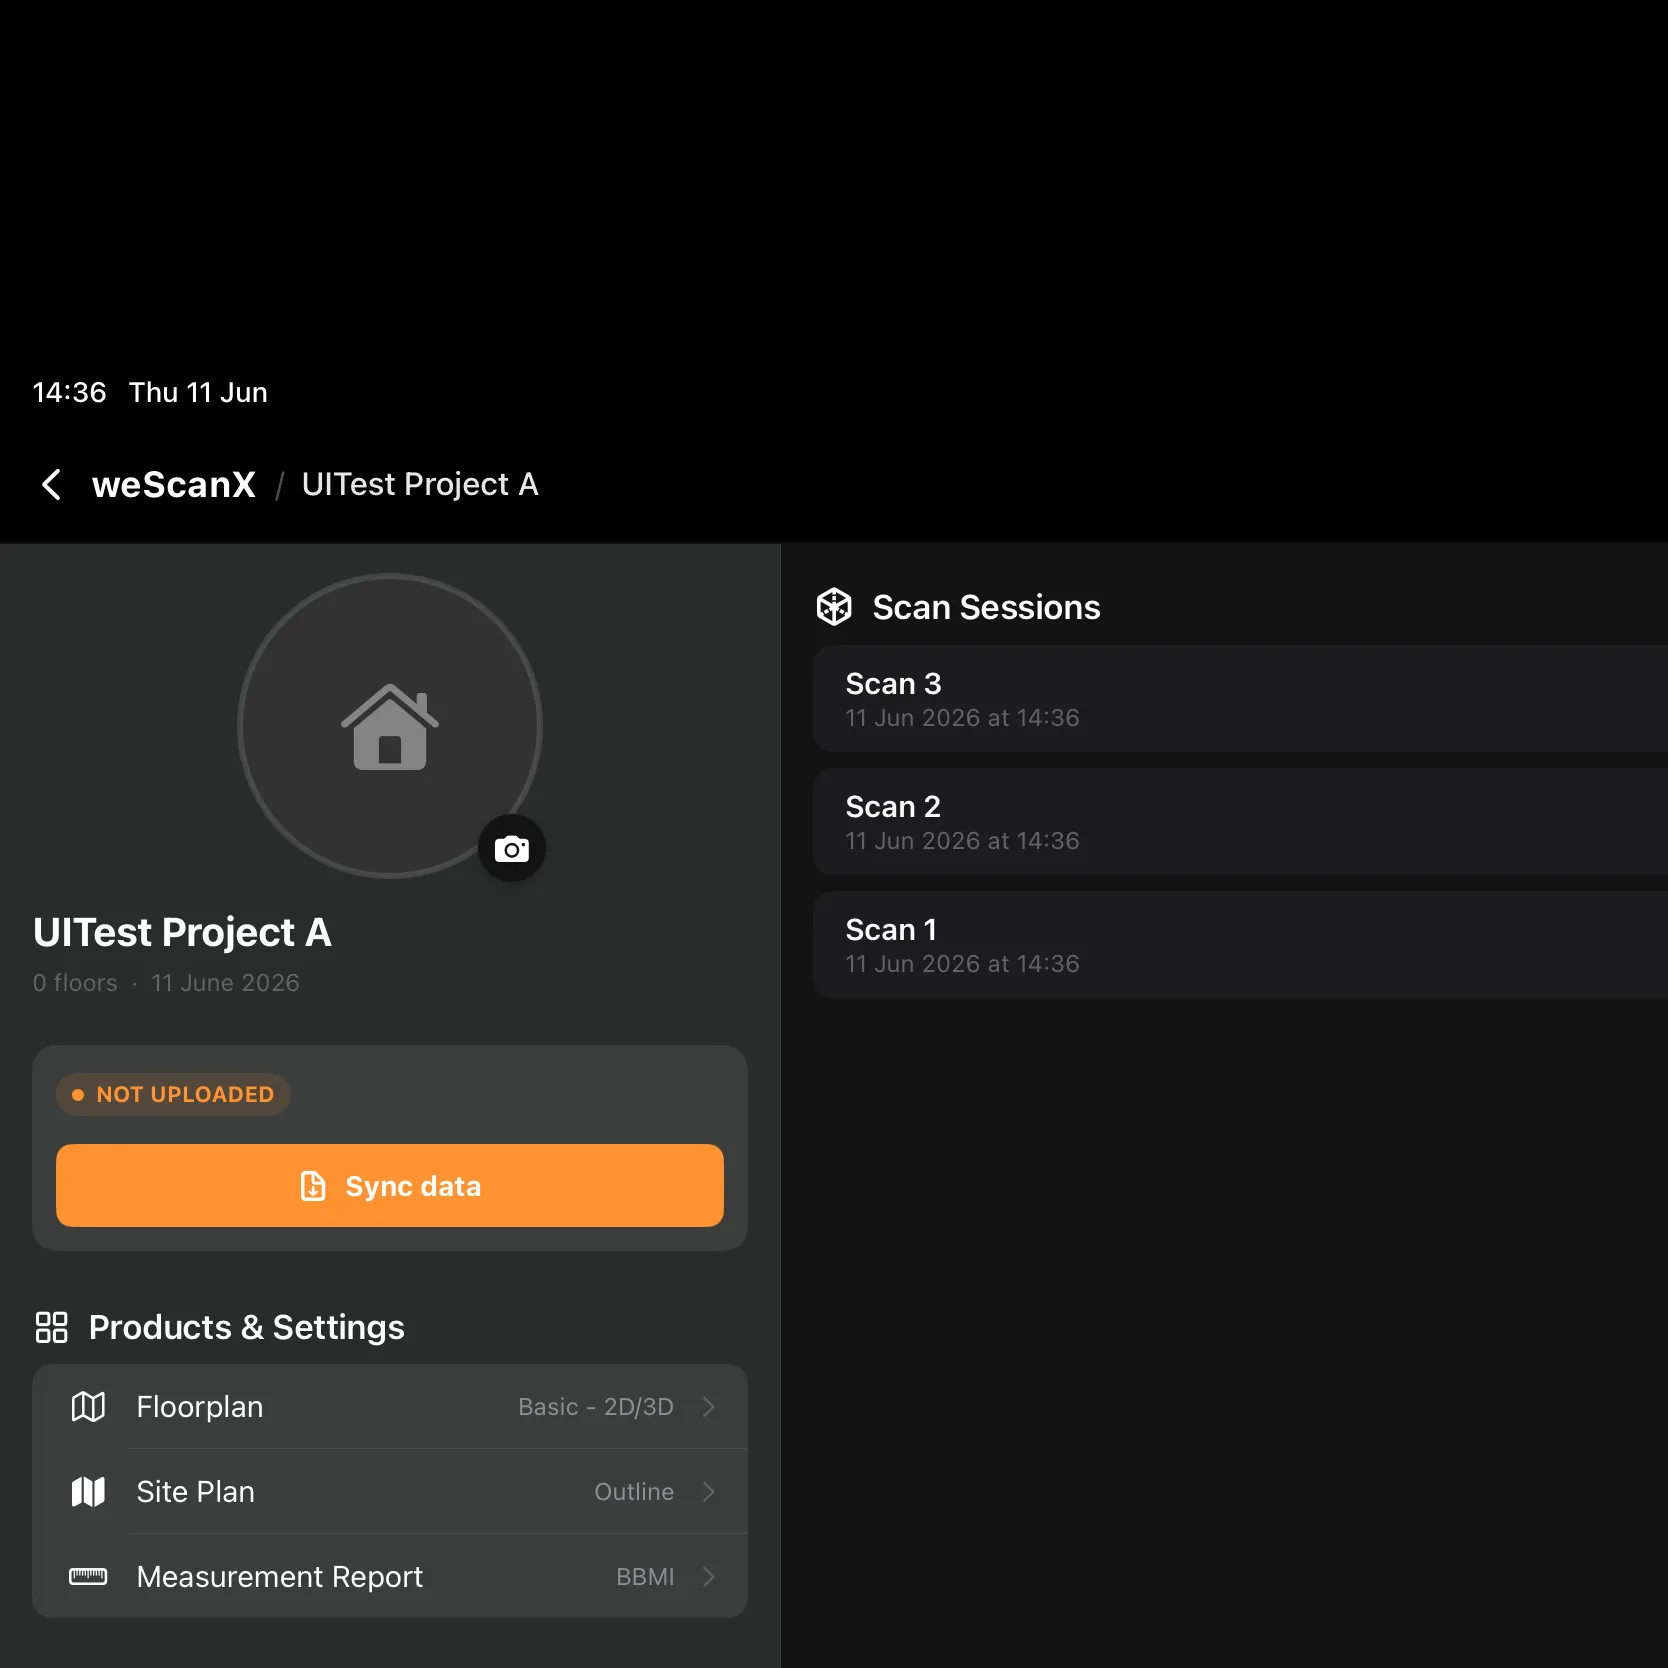
The project page has three tabs: Project, Scans, and Floors. The Floors tab appears after you split the project into floors.
Once scans exist, the project page also shows Sync data and Upload Project — see Sync Data (USB) and Upload to Cloud.
Edit a project
Section titled “Edit a project”-
Open the project.
-
Open the project actions menu and choose Edit Project Info.
-
Change the name or address, then save.
Delete scans or a project
Section titled “Delete scans or a project”To delete individual scan sessions:
-
In the Scan Sessions list, tap Edit.
-
Tap scans to select them — the app shows “Tap scans to select, then slide to delete”.
-
Slide to confirm the deletion.